Monday, September 6, 2010
Sunday, September 5, 2010
Assignment 3 (Birthday Card) : Step how i create and design
1ST STEP (front and back card) (Creating and Vectorize character Women)
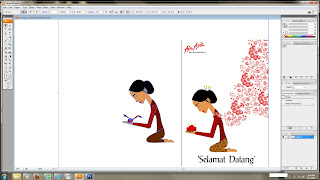 For the first step, i used pen tool to vectorize the image to created the character wearing kebaya and plain batik and i filled the color inside the image. Kebaya and batik is one of the local culture element that i added into my design.
2nd STEP (front and back card) (Creating and Vector Flower)
 The next step i use pen tool to vector the flower (hibiscus) and fill red color into the image. Hibiscus also one of the element that can be related with our local culture. Hibiscus is Malaysia national flower.
3rd STEP (front and back card) (Placing the Flower)
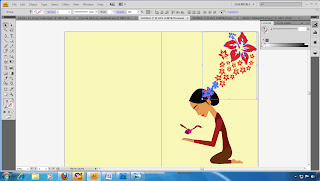 For the third step, i placing the flower at character head and create more and more flower to make the design more better.
4th STEP (front and back card) ( Fill background color and )
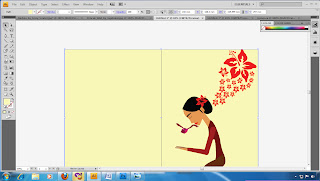 Next step is fill background with yellow color to make card more colorful.
5th STEP (front and back card) (Background Effect and Font)
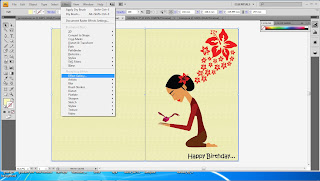
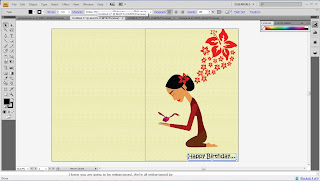
For the fifth step, i use dry brush effect for the background and i put a font happy birthday at front of card under the character.
6th STEP (front and back card) ( Creating Mattress)
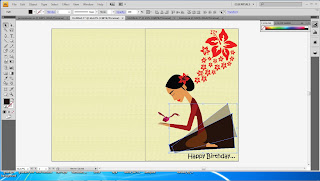
For the sixth step i creating mattress in Malay or local culture word call tikar. This tikar use by malay or other race a long time ago. This tikar now they replace with carpet.
7th STEP (front and back card) ( Present box)
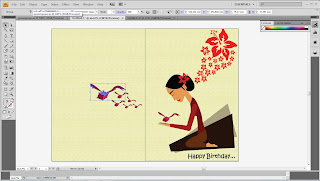
For the next step is paste and creating more present box and put it at back of the card that show the present box will fly away to the people who will have this birthday card.
8th STEP ( Inside Card)
For the 8th step, i also use dry brush effect for the background.
9th STEP ( Inside Card) ( Flower Paste)
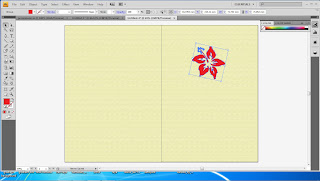 Next step is paste the flower (hibiscus) inside the card by drag the image and create more and more flower.
10th STEP( Inside Card) (Font)
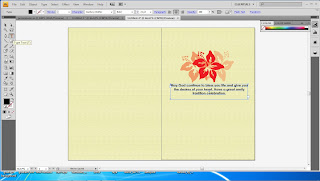
For the tenth step, i type a word for birthday wishes to put inside the card.
11th STEP( Inside Card) (Creating house)
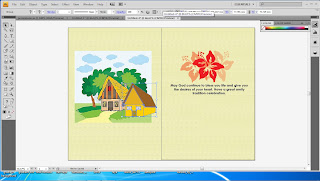
Next step is creating malay house by using pen tool and vector the image from the reference and put near with the flower. This malay house also can be relate with the local culture.
12th STEP( Inside Card) ( Creating Palm tree)
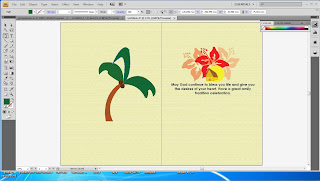
For the 12th step, i create a palm tree by using pen tool and vector the image from the reference and put near with the malay house. This palm tree also can be relate with the local culture.
13th STEP (front and back card) ( Change font and font to other Place and put a shadow)
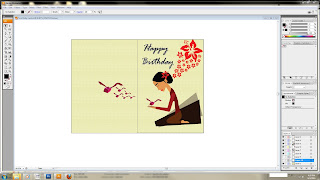
For this step, i change the type of font for Happy Birthday and also drag the font and put near with the flower. I create a shadow for the font. The shadow actually i create by copying the original font and change it to grey color and put behind the font.
14th STEP (front and back card) (Re size and opacity image)
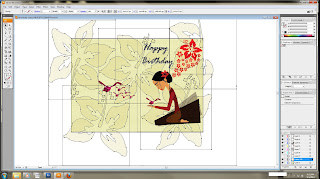 Step 14, i copy the flower and re size it and make it bigger. I also use opacity to make the image almost transparent to make it as design for background.
15th STEP (front and back card) (font)
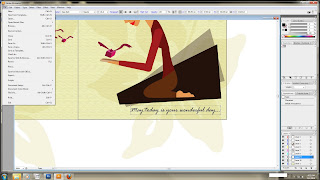
The next step is put word and font of (May today is your wonderful day)
16th STEP ( Inside Card) (Font and Shadow)
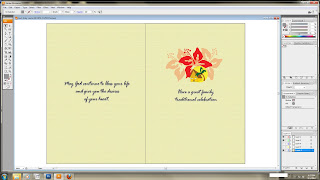
the step 16 is birthday wishes for this car. I create a shadow for the font. The shadow actually i create by copying the original font and change it to grey color and put behind the font.
17th STEP ( Inside Card) (Flower as a background )
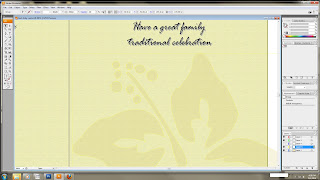
Step 17, i copy the flower image and paste it into inside card and resize it and make it bigger to make it as background image.
18th STEP ( Inside Card) (Flower as a background )
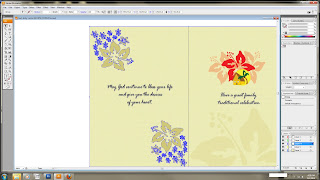
For the last step i copy the flower image that i create on front card and put it inside the card to make as background and use opacity to make it like transparent.
 For the first step, i used pen tool to vectorize the image to created the character wearing kebaya and plain batik and i filled the color inside the image. Kebaya and batik is one of the local culture element that i added into my design.
2nd STEP (front and back card) (Creating and Vector Flower)
 The next step i use pen tool to vector the flower (hibiscus) and fill red color into the image. Hibiscus also one of the element that can be related with our local culture. Hibiscus is Malaysia national flower.
3rd STEP (front and back card) (Placing the Flower)
 For the third step, i placing the flower at character head and create more and more flower to make the design more better.
4th STEP (front and back card) ( Fill background color and )
 Next step is fill background with yellow color to make card more colorful.
5th STEP (front and back card) (Background Effect and Font)


For the fifth step, i use dry brush effect for the background and i put a font happy birthday at front of card under the character.
6th STEP (front and back card) ( Creating Mattress)

For the sixth step i creating mattress in Malay or local culture word call tikar. This tikar use by malay or other race a long time ago. This tikar now they replace with carpet.
7th STEP (front and back card) ( Present box)

For the next step is paste and creating more present box and put it at back of the card that show the present box will fly away to the people who will have this birthday card.
8th STEP ( Inside Card)

For the 8th step, i also use dry brush effect for the background.
9th STEP ( Inside Card) ( Flower Paste)
 Next step is paste the flower (hibiscus) inside the card by drag the image and create more and more flower.
10th STEP( Inside Card) (Font)

For the tenth step, i type a word for birthday wishes to put inside the card.
11th STEP( Inside Card) (Creating house)

Next step is creating malay house by using pen tool and vector the image from the reference and put near with the flower. This malay house also can be relate with the local culture.
12th STEP( Inside Card) ( Creating Palm tree)

For the 12th step, i create a palm tree by using pen tool and vector the image from the reference and put near with the malay house. This palm tree also can be relate with the local culture.
13th STEP (front and back card) ( Change font and font to other Place and put a shadow)

For this step, i change the type of font for Happy Birthday and also drag the font and put near with the flower. I create a shadow for the font. The shadow actually i create by copying the original font and change it to grey color and put behind the font.
14th STEP (front and back card) (Re size and opacity image)
 Step 14, i copy the flower and re size it and make it bigger. I also use opacity to make the image almost transparent to make it as design for background.
15th STEP (front and back card) (font)

The next step is put word and font of (May today is your wonderful day)
16th STEP ( Inside Card) (Font and Shadow)

the step 16 is birthday wishes for this car. I create a shadow for the font. The shadow actually i create by copying the original font and change it to grey color and put behind the font.
17th STEP ( Inside Card) (Flower as a background )

Step 17, i copy the flower image and paste it into inside card and resize it and make it bigger to make it as background image.
18th STEP ( Inside Card) (Flower as a background )

For the last step i copy the flower image that i create on front card and put it inside the card to make as background and use opacity to make it like transparent.
Ideation for Assignment 3
Subscribe to:
Comments (Atom)


