FRONT AND BACK

INSIDE CARD


INSIDE CARD

Actually I create two part for this assignment. First part is for front and back card and the other part is design for inside the card. This is the final work for assignment 3. Thank You
 This is the picture that i use as my reference to design my birthday card
 For the first step, i used pen tool to vectorize the image to created the character wearing kebaya and plain batik and i filled the color inside the image. Kebaya and batik is one of the local culture element that i added into my design.
 The next step i use pen tool to vector the flower (hibiscus) and fill red color into the image. Hibiscus also one of the element that can be related with our local culture. Hibiscus is Malaysia national flower.
 For the third step, i placing the flower at character head and create more and more flower to make the design more better.
 Next step is fill background with yellow color to make card more colorful.


 Next step is paste the flower (hibiscus) inside the card by drag the image and create more and more flower.


 Step 14, i copy the flower and re size it and make it bigger. I also use opacity to make the image almost transparent to make it as design for background.


 For the first step, i used pen tool and vector the image to created the mosque and hill and the color inside the mosque i filled black.
 The next step i click on the background to fill blue color for the background.
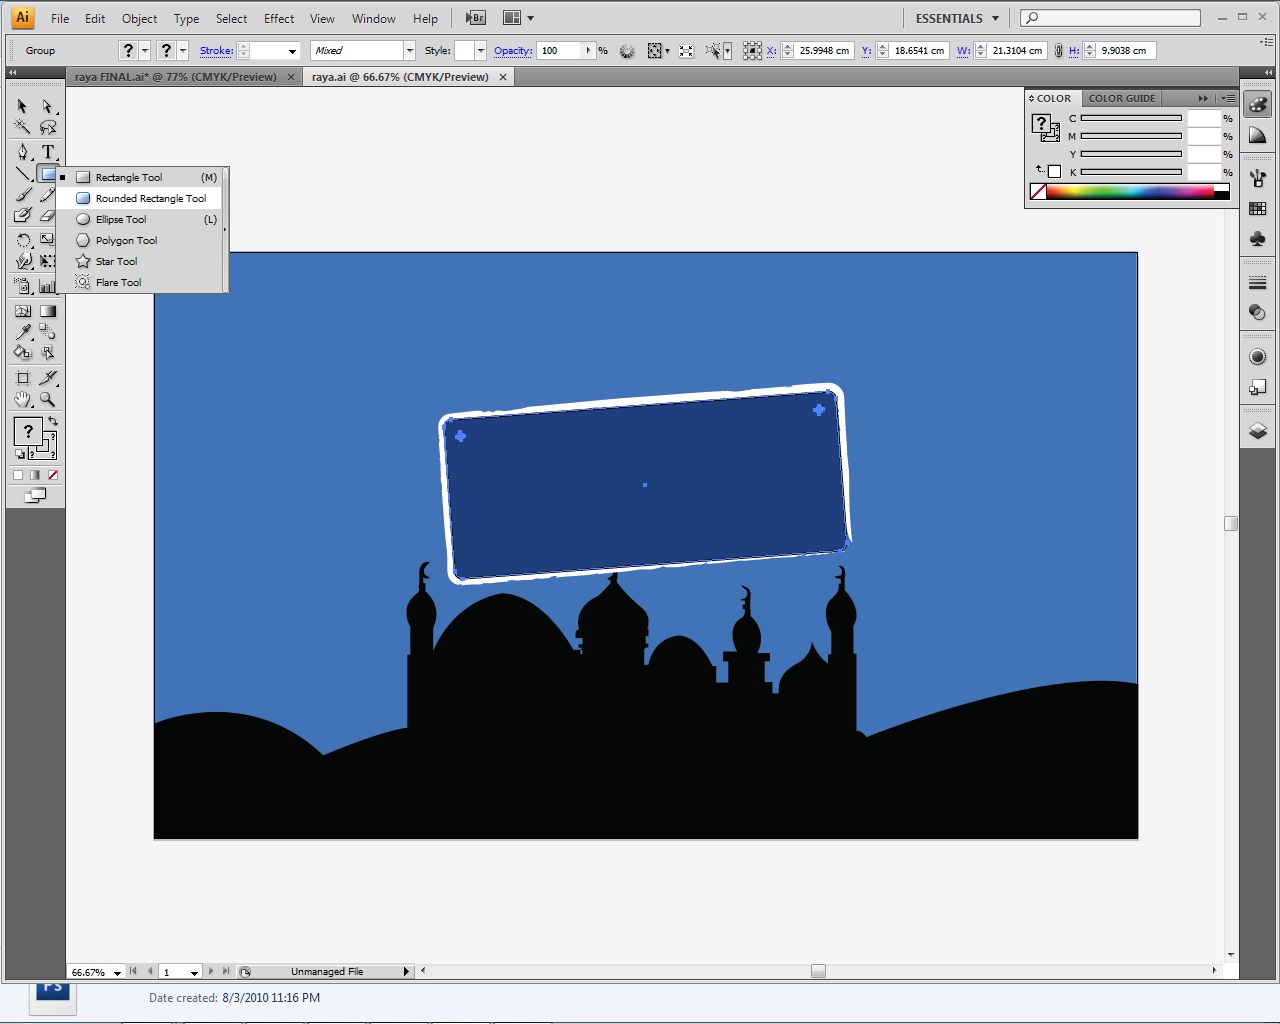 For the third step, i created rounded rectangle by using rounded rectangle tool to create a box for days of in the month. I create another shape in black outline with fancy outline.


 Step number four, I use pen tool to vector and create a character from Raya card above. The same way i created Pelita by using pen tool to vector the image and create the Pelita the fire of Pelita i fill with yellow color. Next step i create circles to make the background more nice by using ellipse tool and group it. After that i created the font that show "Happy Eid Mubarak" and the day in the month. Then i created a star by using star tool. Then i group the font and the rounded rectangle. After i created a star, i also created the window of the mosque by using rectangle tool and fill the yellow color inside the window.


 After finished creating half moon and shadow of the moon, I put a gradient inside the half moon and the shadow by using gradient tool.
 Seven step is the last step for this assignment. The last step is I put a statement for this calendar that show "Celebrating In Peace And Happiness..." the color for this font is yellow and white and i also use linear gradient tool for this font.


