Sunday, August 8, 2010
STATEMENT AND DESCRIPTION ABOUT ASSINGMENT 2
STATEMENT AND DESCRIPTION ABOUT ASSIGNMENT 2
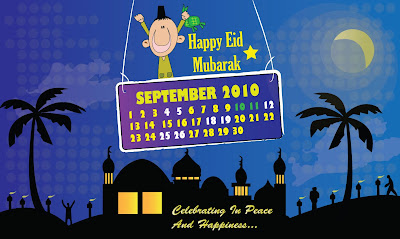
Assignment 2 is the task that I need to create a calendar based on a festive season like Christmas, Chinese New Year, Hari Raya, Deepavali and so on. In other words, I need to create a calendar based on the month the festival fall into. I chose Hari Raya Festival as my design for assignment 2.
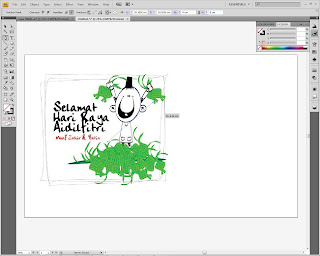
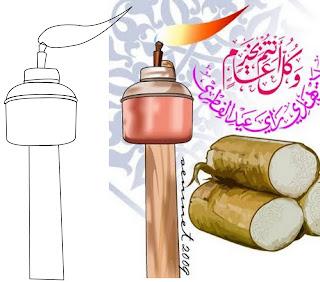
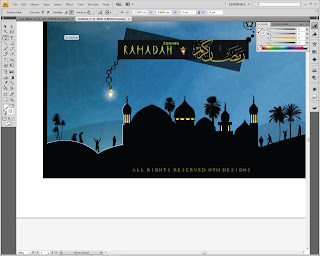
The idea for this calendar actually comes from the picture that I already post. The picture is actually for Ramadan design but what I can say Ramadan and Hari Raya are related to each other so I use that design as my layout for my new design for this.
The statement that came up is "Celebrating in Peace and Happiness". The word in Peace and Happiness can be related with human in the design that is celebrating Hari Raya with great joy and the character beside the “Happy Eid Mubarak” show they feel the happiness of Hari Raya with new clothes and hold ketupat.
The color also plays a role. Some of reference that I read they said that yellow color can be describe as joy, gladness and happiness. It is related with my statement. Other color that I used is blue. Blue in some reference said calm and cool. It also can be related with peace.
Half moon that shows on my design is the half moon that appears on Hari Raya.
Assignment 2 ( Festive Calendar ) Step by step.
FIRST STEP ( Creating Mosque)
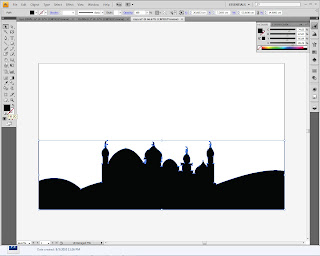
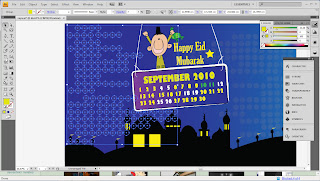
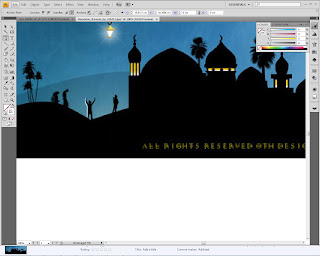
For the first step, i used pen tool and vector the image to created the mosque and hill and the color inside the mosque i filled black.
SECOND STEP (Background color)
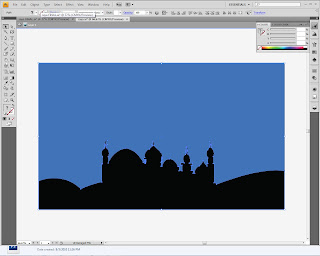
The next step i click on the background to fill blue color for the background.
THIRD STEP (rounded rectangle)
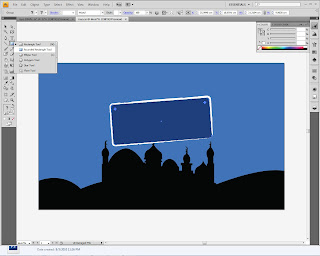
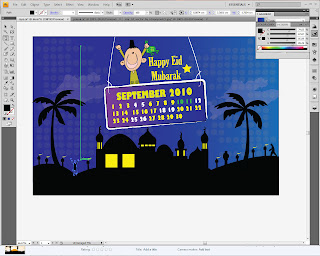
For the third step, i created rounded rectangle by using rounded rectangle tool to create a box for days of in the month. I create another shape in black outline with fancy outline.
FOURTH STEP (Creating character, pelita, font, star and circles.)
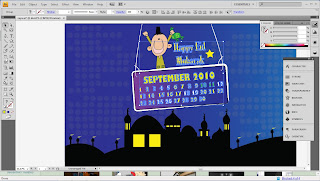
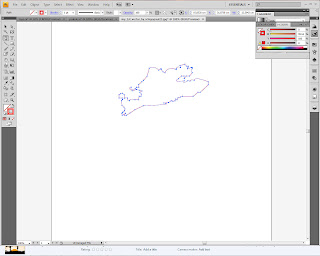
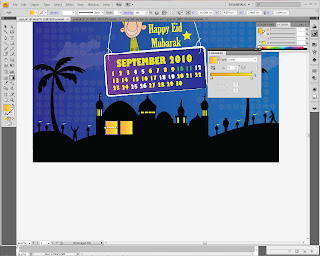
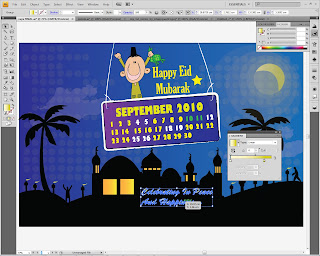
Step number four, I use pen tool to vector and create a character from Raya card above. The same way i created Pelita by using pen tool to vector the image and create the Pelita the fire of Pelita i fill with yellow color. Next step i create circles to make the background more nice by using ellipse tool and group it. After that i created the font that show "Happy Eid Mubarak" and the day in the month. Then i created a star by using star tool. Then i group the font and the rounded rectangle. After i created a star, i also created the window of the mosque by using rectangle tool and fill the yellow color inside the window.
FIFTH STEP (creating coconut tree, human and cloud and gradient)
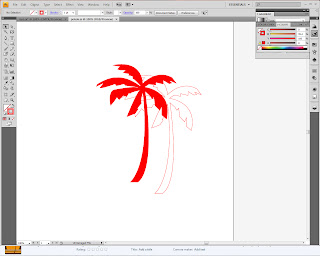
For the fifth step, i created coconut tree, human and cloud by using pen tool. I created human and vectorized it by using pen tool. After finish created coconut tree, human and cloud, i put yellow gradient inside the mosque window by using gradient tool.
SIXTH STEP (Half Moon Vector)
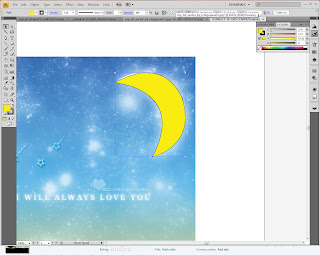
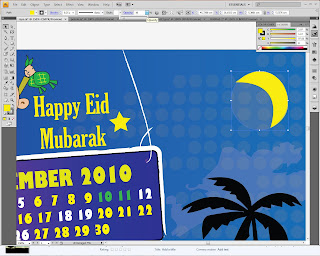
For the sixth step, i started to create half moon to show the moon that appear on Hari Raya. I used pen tool to vector the half moon image and created and fill it with yellow color. After finish creating the half moon, I also created the shadow of the moon and the opacity is 10.
After finished creating half moon and shadow of the moon, I put a gradient inside the half moon and the shadow by using gradient tool.
SEVENTH STEP
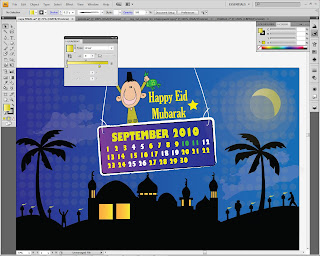
Seven step is the last step for this assignment. The last step is I put a statement for this calendar that show "Celebrating In Peace And Happiness..." the color for this font is yellow and white and i also use linear gradient tool for this font.
RESULT
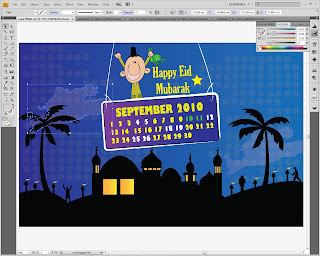
This is my Hari Raya Festive Calendar that i created for assignment 2. Thank You!
For the first step, i used pen tool and vector the image to created the mosque and hill and the color inside the mosque i filled black.
SECOND STEP (Background color)
The next step i click on the background to fill blue color for the background.
THIRD STEP (rounded rectangle)
For the third step, i created rounded rectangle by using rounded rectangle tool to create a box for days of in the month. I create another shape in black outline with fancy outline.
FOURTH STEP (Creating character, pelita, font, star and circles.)
Step number four, I use pen tool to vector and create a character from Raya card above. The same way i created Pelita by using pen tool to vector the image and create the Pelita the fire of Pelita i fill with yellow color. Next step i create circles to make the background more nice by using ellipse tool and group it. After that i created the font that show "Happy Eid Mubarak" and the day in the month. Then i created a star by using star tool. Then i group the font and the rounded rectangle. After i created a star, i also created the window of the mosque by using rectangle tool and fill the yellow color inside the window.
FIFTH STEP (creating coconut tree, human and cloud and gradient)
For the fifth step, i created coconut tree, human and cloud by using pen tool. I created human and vectorized it by using pen tool. After finish created coconut tree, human and cloud, i put yellow gradient inside the mosque window by using gradient tool.
SIXTH STEP (Half Moon Vector)
For the sixth step, i started to create half moon to show the moon that appear on Hari Raya. I used pen tool to vector the half moon image and created and fill it with yellow color. After finish creating the half moon, I also created the shadow of the moon and the opacity is 10.
After finished creating half moon and shadow of the moon, I put a gradient inside the half moon and the shadow by using gradient tool.
SEVENTH STEP
Seven step is the last step for this assignment. The last step is I put a statement for this calendar that show "Celebrating In Peace And Happiness..." the color for this font is yellow and white and i also use linear gradient tool for this font.
RESULT
This is my Hari Raya Festive Calendar that i created for assignment 2. Thank You!
Assignment 2 ( Festive Calendar ) Plan and Ideas.
Assignment 2 is the task that I need to create a calendar based on a festive season like Christmas, Chinese New Year, Hari Raya, Deepavali and so on. In other words, I need to create a calendar based on the month the festival fall into. I choose Hari Raya Festival as my design for assignment 2.
Celebrated by the Muslims signifies the end of the fasting season of Ramadan for a month. The celebration is determined by sighting of the new moon. This is the most significant celebration for the Muslims. Muslims starts the day by congregating in the mosques early in the morning to perform Hari Raya Puasa prayers followed by visits to the graves of the departed.
This festive occasion is greeted with great joy, the young will ask for forgiveness from their elders and everyone will put on new clothes. Open house or invitation for relatives and friends to come to their house is practised. Plenty of traditional Malay delicacies are served during this festive season. Houses are thoroughly cleaned and decorated with the lighting of oil lamps to welcome the angels which is believed to be visiting the earth during the seven days preceding the festivall. The celebration lasts for a month which the celebration is concentrated in the first three days.
IDEA
The idea for this calendar actually come from this picture. Ramadhan and Hari Raya is related each other so I use this design as my layout for my new design for assignment 2. Then the next picture i use as element to create the day in month. I combine all the element into one design.
STATEMENT AND DESCRIPTION
The statement that come up is "Celebrating In Peace And Happiness". The word in Peace and Happiness can be related with Muslims starts the day by congregating in the mosques early in the morning to perform Hari Raya prayers and they greeted with great joy, the young will ask for forgiveness from their elders and everyone will put on new clothes. Open house or invitation for relatives and frieds to come to their house is practised.
Monday, August 2, 2010
Tutorial 7 ( Onlince Class attendance for 02/08/10 )
Blending Shapes and Colors (See Adobe Illustrator CS4 Classroom in a Book, Lesson 9 p.258-283). Demonstration on creating and applying a linear gradient at p.261-263.
FIRST STEP
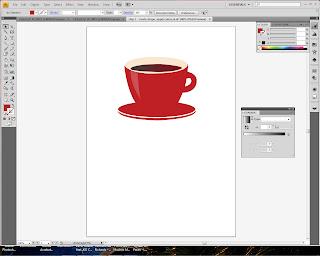
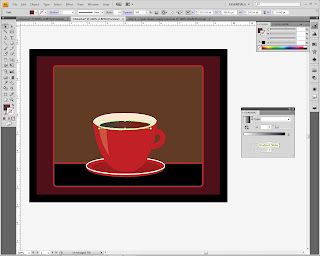
For the first step i create a shape and filled the colors. The shape that i create is the cup based on files for Lesson 09 are available at the Tutorials link.
SECOND STEP
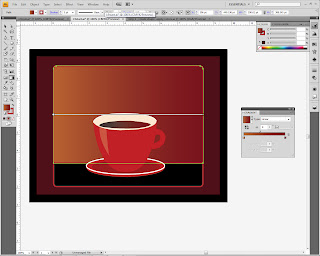
For the second step i drag the shape into the background that was given. Then i create a linear gradient for coffee inside the cup.
THIRD STEP
For the third step i create a linear gradient for background behind the cup.
FOURTH STEP
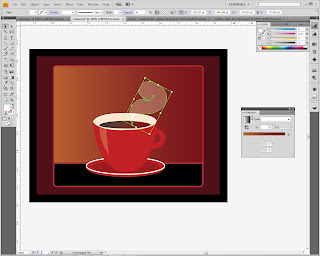
For the fourth step, i created the smoke or the aroma of the coffee to show that the coffee is hot.
FIFTH STEP
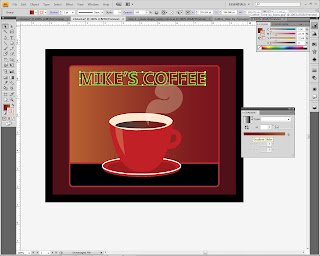
For the fifth step, i create a font (Mike's Coffee), created outline (font) and create linear gradient inside the font. Then i outline the font with a different color.
SIXTH STEP
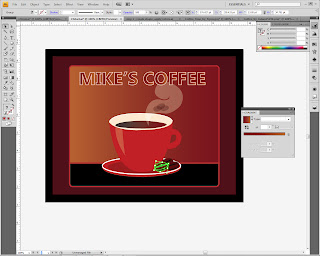
For the last step, i created shapes and colors of the coffee bean to show the idea that it is coffee flavor.
This tutorial that i did by following adobe illustrator website because i don't have the textbook so i google the linear gradient topic and learn from there.
My reference :
http://www.adobe.com/designcenter/illustrator/articles/lrvid4017_ai.html
http://www.photoshopcafe.com/cs4/illustrator.htm
FIRST STEP
For the first step i create a shape and filled the colors. The shape that i create is the cup based on files for Lesson 09 are available at the Tutorials link.
SECOND STEP
For the second step i drag the shape into the background that was given. Then i create a linear gradient for coffee inside the cup.
THIRD STEP
For the third step i create a linear gradient for background behind the cup.
FOURTH STEP
For the fourth step, i created the smoke or the aroma of the coffee to show that the coffee is hot.
FIFTH STEP
For the fifth step, i create a font (Mike's Coffee), created outline (font) and create linear gradient inside the font. Then i outline the font with a different color.
SIXTH STEP
For the last step, i created shapes and colors of the coffee bean to show the idea that it is coffee flavor.
FINAL
This tutorial that i did by following adobe illustrator website because i don't have the textbook so i google the linear gradient topic and learn from there.
My reference :
http://www.adobe.com/designcenter/illustrator/articles/lrvid4017_ai.html
http://www.photoshopcafe.com/cs4/illustrator.htm
Subscribe to:
Posts (Atom)